How to Install an Electrical Outlet
Installing an electrical outlet is easy, straightforward, and within the skill set of any DIYer or Weekend Warrior. This article will guide you through the tools, safety equipment, and technique for adding or installing and old work electrical outlet into a wall, workshop, or garage.
Disclaimer: I am not a licensed professional electrician and this article has not been approved by any licensed professional. Do not attempt anything you are uncomfortable with and always seek professional advice and help when performing such tasks. Attempt this at your own risk and liability.
Tool List
Material List
Safety First
Using your Electrical Tester, ensure power is disconnected to the circuit you will be tapping into. If you are unsure, just turn off your main breaker. It’s always better to be safe than sorry!
Mark and Cut
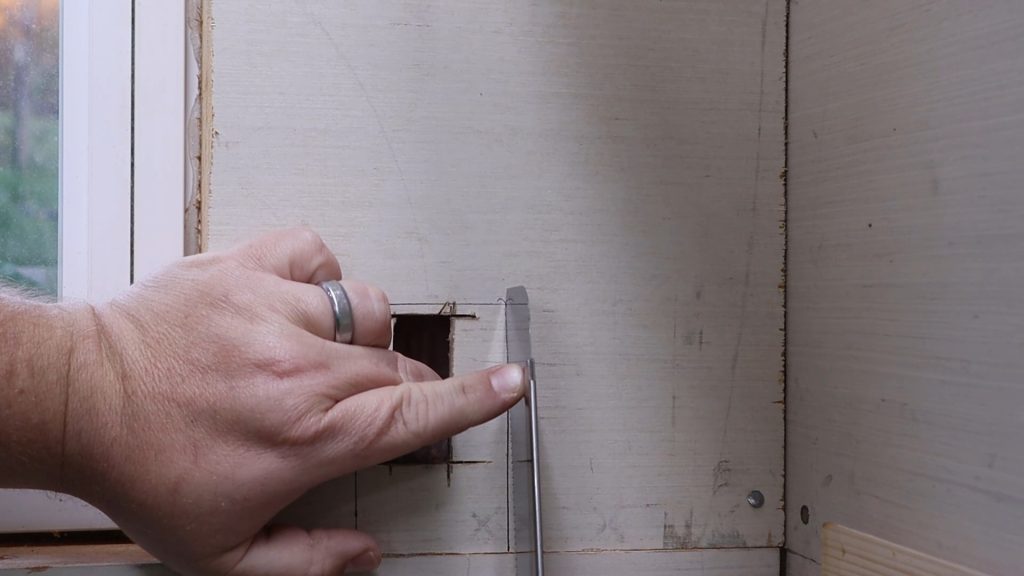
Mark out the location for your old work electrical box to be installed. I made a simple old work box template from cardboard since I do a lot of these installs. I would recommend spending the time and making one of your own if you are a DIYer, too.
With the lines marked, use your Plunge Cut Japanese Hand Saw to carefully cut the wall opening. Be very careful and mindful of where the wires are in the wall –Your saw will easily cut wires!
Install the Old Work Electrical Box
Now it’s time to put the old work electrical outlet box into the wall. Punch out one of the tabs in the back of the outlet box, then carefully pull the wires through the hole as you work the box into the wall.
Once the box is in the wall, use your screwdriver to tighten the screws on the box. Old work outlet boxes have tabs that twist up and clamp onto your wall to secure themselves. Be careful not to over tighten these clamps as they will strip out or break!

Prepare the Wires
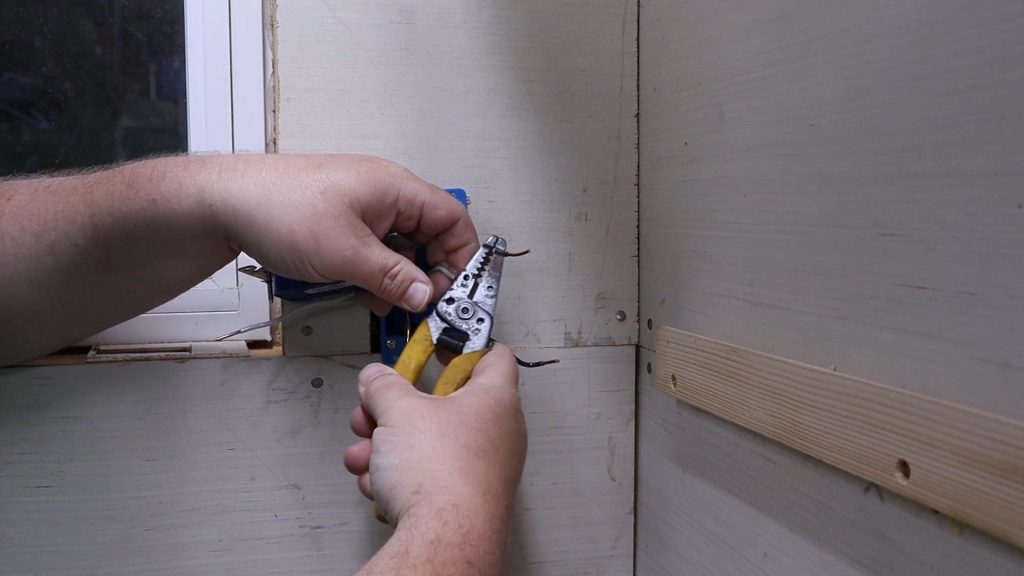
With the outlet box in place, it’s time to strip off the protective sheathing of the wires and prepare them to be installed onto the outlet.
Using your wire strippers, carefully cut off the outermost wire sheathing to expose the wires. Then strip each individual wire sheathing off to expose about 1 inch of bare copper wire.
Connect the Wires
On outlets in the US you will find three different screw colors. The screw colors correspond to the three wires as follows.
Silver Screw = Neutral / White Wire
Gold Screw = Hot / Black Wire
Green Screw = Ground / Bare Copper Wire
Using your Wire Strippers, bend the ends of the wires to make small hooks. Attach the wires around the screws in a clockwise fashion. This is important so that as you tighten the screws they pull the wires tight and secure them better. Using your Screwdriver, tighten the screws down snugly, including any extra screws you may not use in the outlet.

Install the Outlet into the Box
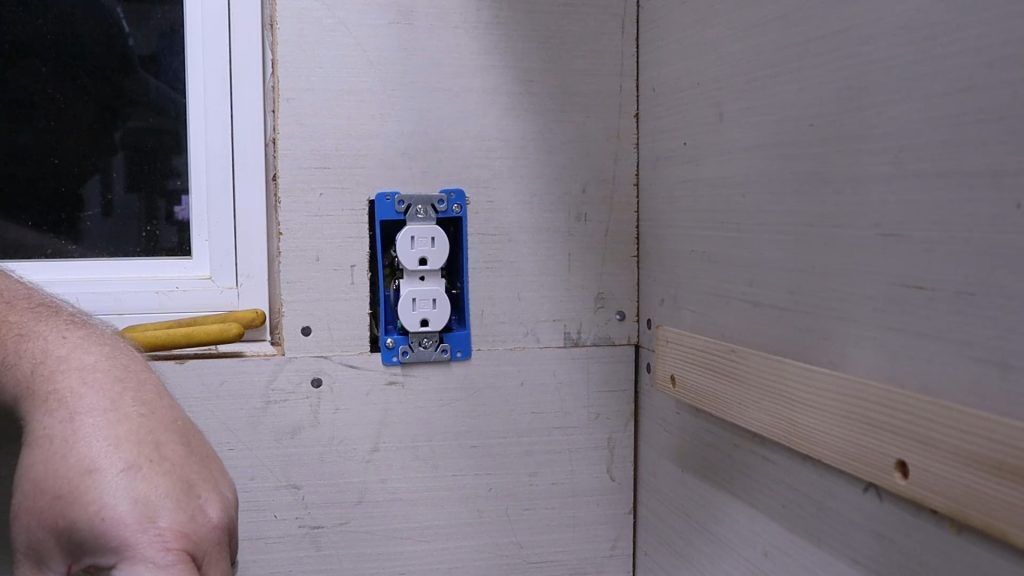
With everything properly connected, secured, and double-checked that the wires are on the correct terminals, now is the time to work the outlet into the box. Be mindful of the wire locations and try to keep them from rubbing the outlet or terminals. You don’t want the wires shorting out in the box and causing an electrical fire!
When you get close to having the outlet in the box, you can use the screws on the outlet to pull it into the box the rest of the way. Alternate from top to bottom screws to “walk” the outlet into the box carefully. Also, be mindful of the vertical orientation (plumb) of the outlet as you tighten the screws. There are slots in the outlet to allow for compensation of crooked outlet boxes.
Attach the Outlet Cover
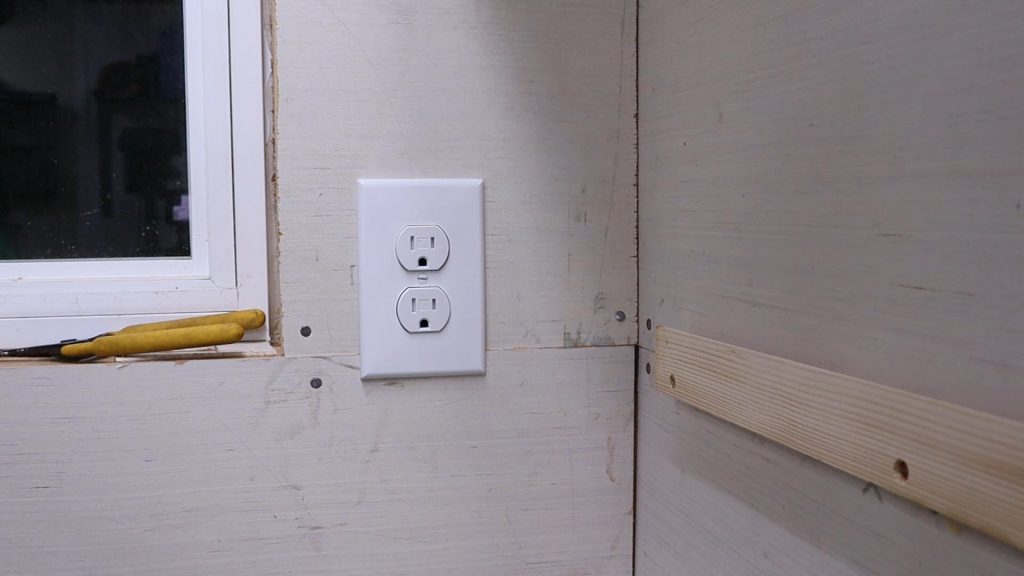
With the outlet in place, now is the time to put the cover on and hope and pray that it covers up any oopsies you had from cutting the hole in your wall.
Use your Screwdriver to install the screw, being careful not to over tighten it — it will crack the outlet cover if you are not careful! Unfortunately, I know this first hand.
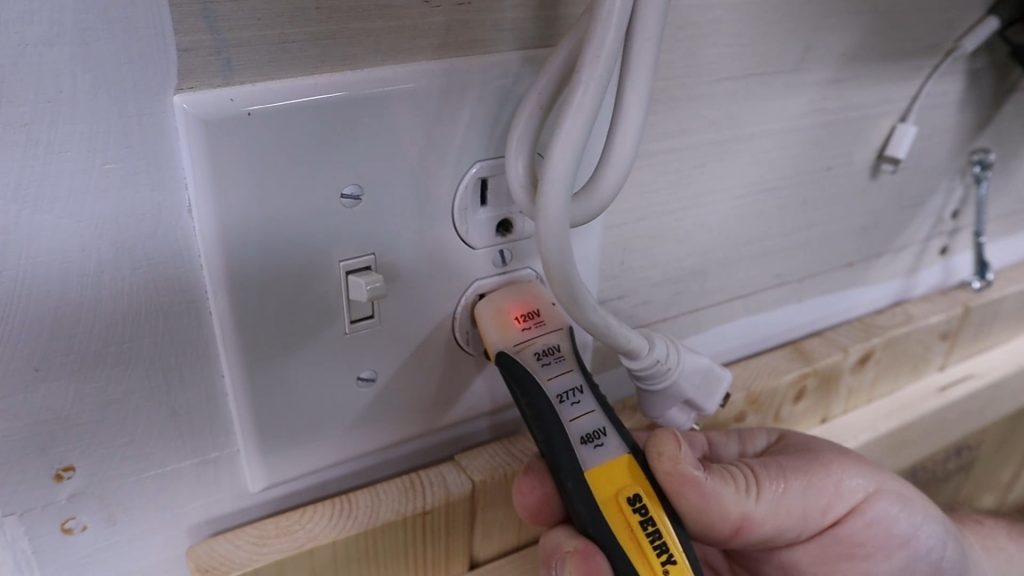
Turn on the Power
With everything installed, turn the power back on, test the outlet with your Electrical Tester, and make sure everything works as expected.
High Fives?
Did everything work as expected? Did you not die? Did your wall not explode into flames? Does it look like a professional install? Did you not loose any fingers or appendages? Great! Give yourself a high five!