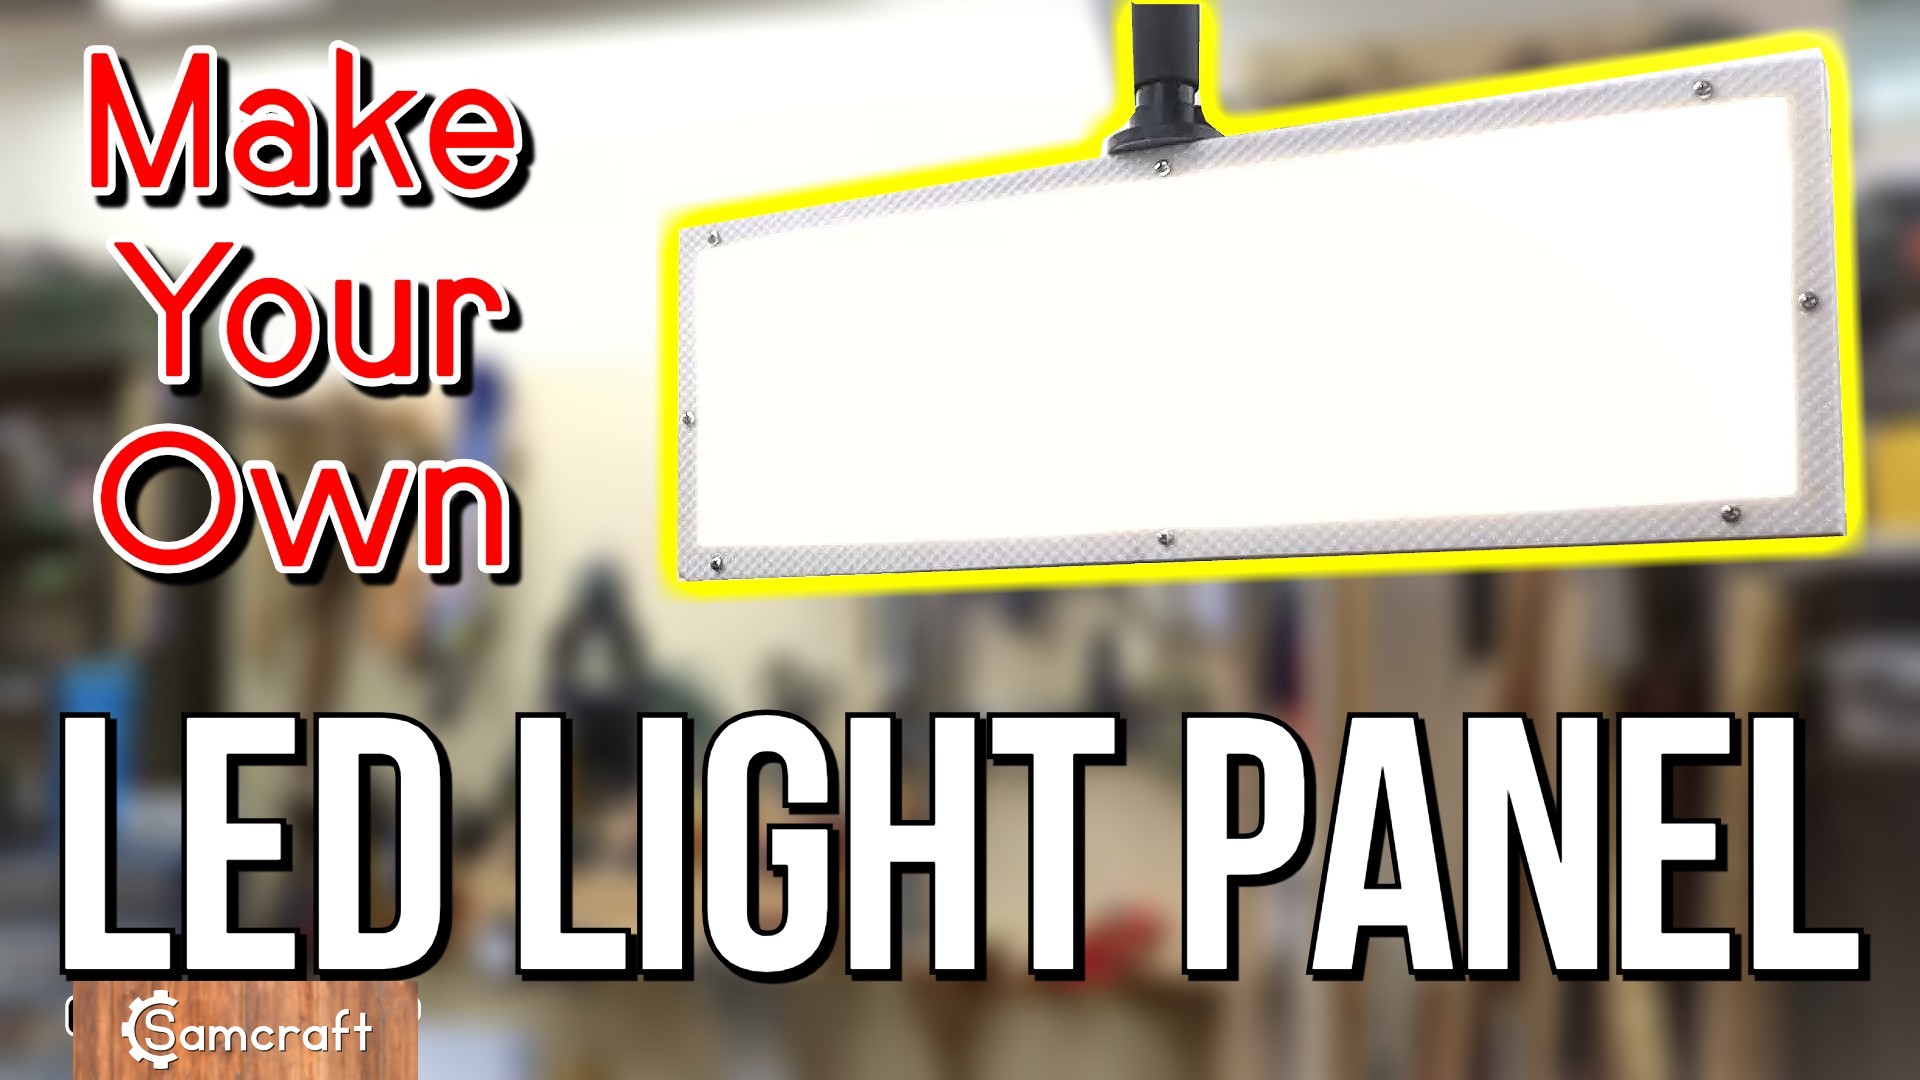
How to Build Your Own LED Light Panel
This LED Light Panel is a great way to save money for anyone looking to shed some light on their work, using just a few simple tools. Most popular with video creators, but equally capable as a large work light, this LED light panel costs a fraction of the amount commercial light panels are selling for.
LED Light Panel Build Video
Tools Needed
- Hand Saw
- Tape Measure
- Square
- Pencil
- Utility Knife (for cutting panels)
- Drill Driver Set
- Screw Driver
- Countersink Bits
- Stapler
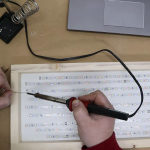
- Soldering Iron
- Solder Iron Holder / Stand / Helping Hands
- Combination / Bone Wrench
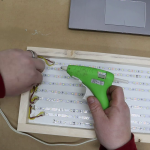
- Hot Glue Gun
Optional Tools
Materials Needed
- 1×4 Pine Board (or similar) ripped to 1″ wide and cut to fit the size of your light panel
- Prism Ceiling Light Panel cut to the size of your light panel
- Flat Matte White Lay In Ceiling Tile – cut to the size of your light panel
- 1.5″ wood screws
- Wood Glue
- Backer Board Clear Glue
- Staples
- LED Light Kit
- Small Gauge Wiring
- Electrical Solder
- Hot Glue
- 1/2″ Pan Head Screws
- 1/4″ x 20 Threaded Insert
Project Build Steps
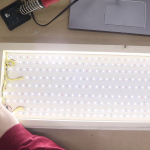
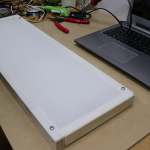
- Cut the prism and smooth panels to the size you want your LED light panel to be. I made mine 24″ wide and 8″ tall.
- Rip the pine board into 1″ wide strips, then cut it to the required lengths to make a frame the same size as the panels you cut in Step 1.
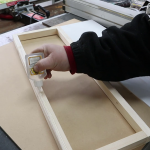
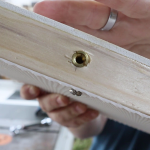
- Assemble the frame by drilling pilot holes and countersinking for the 1.5″ wood screws to attach the pine pieces together. Be sure to put a bit of wood glue on each of the joints, too.
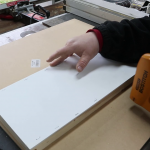
- Using the clear glue, run a bead around the whole wood frame, then place the smooth white panel on top of it. Using the stapler and 1/2″ staples, secure the smooth panel to the wood frame. This will hold the panel in place while the glue sets and allow you to keep working.
- Drill a 1/4″ hole through the side of the frame to fish the power cord through.
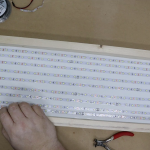
- Unpack the LED Light Kit and cut the strips to the desired length to fit inside the frame.
- Feed the power cord through the hole in the frame (Step 5) and tie a knot in the wire to keep from pulling the wire out of the panel by accident later.
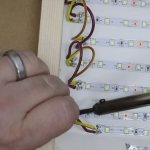
- Cut the small 18ga wire into lengths to reach from strip to strip inside the panel.
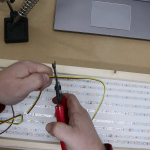
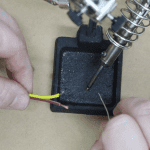
- Strip and pre-tin all of the wires and solder points of the LED light strips.
- Solder the jumper wires on the LED light strips.
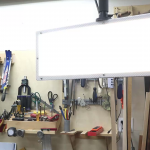
- Test the light panel that all strips light up as you expect.
- Using the hot glue gun, secure the jumper wires to the panel.
- Install the prism light panel onto the frame using the 1/2″ pan head screws.
- Drill a 3/8″ hole into the bottom center of the light panel frame and insert the 1/4″-20 threaded insert into the wood.
Previous
Next