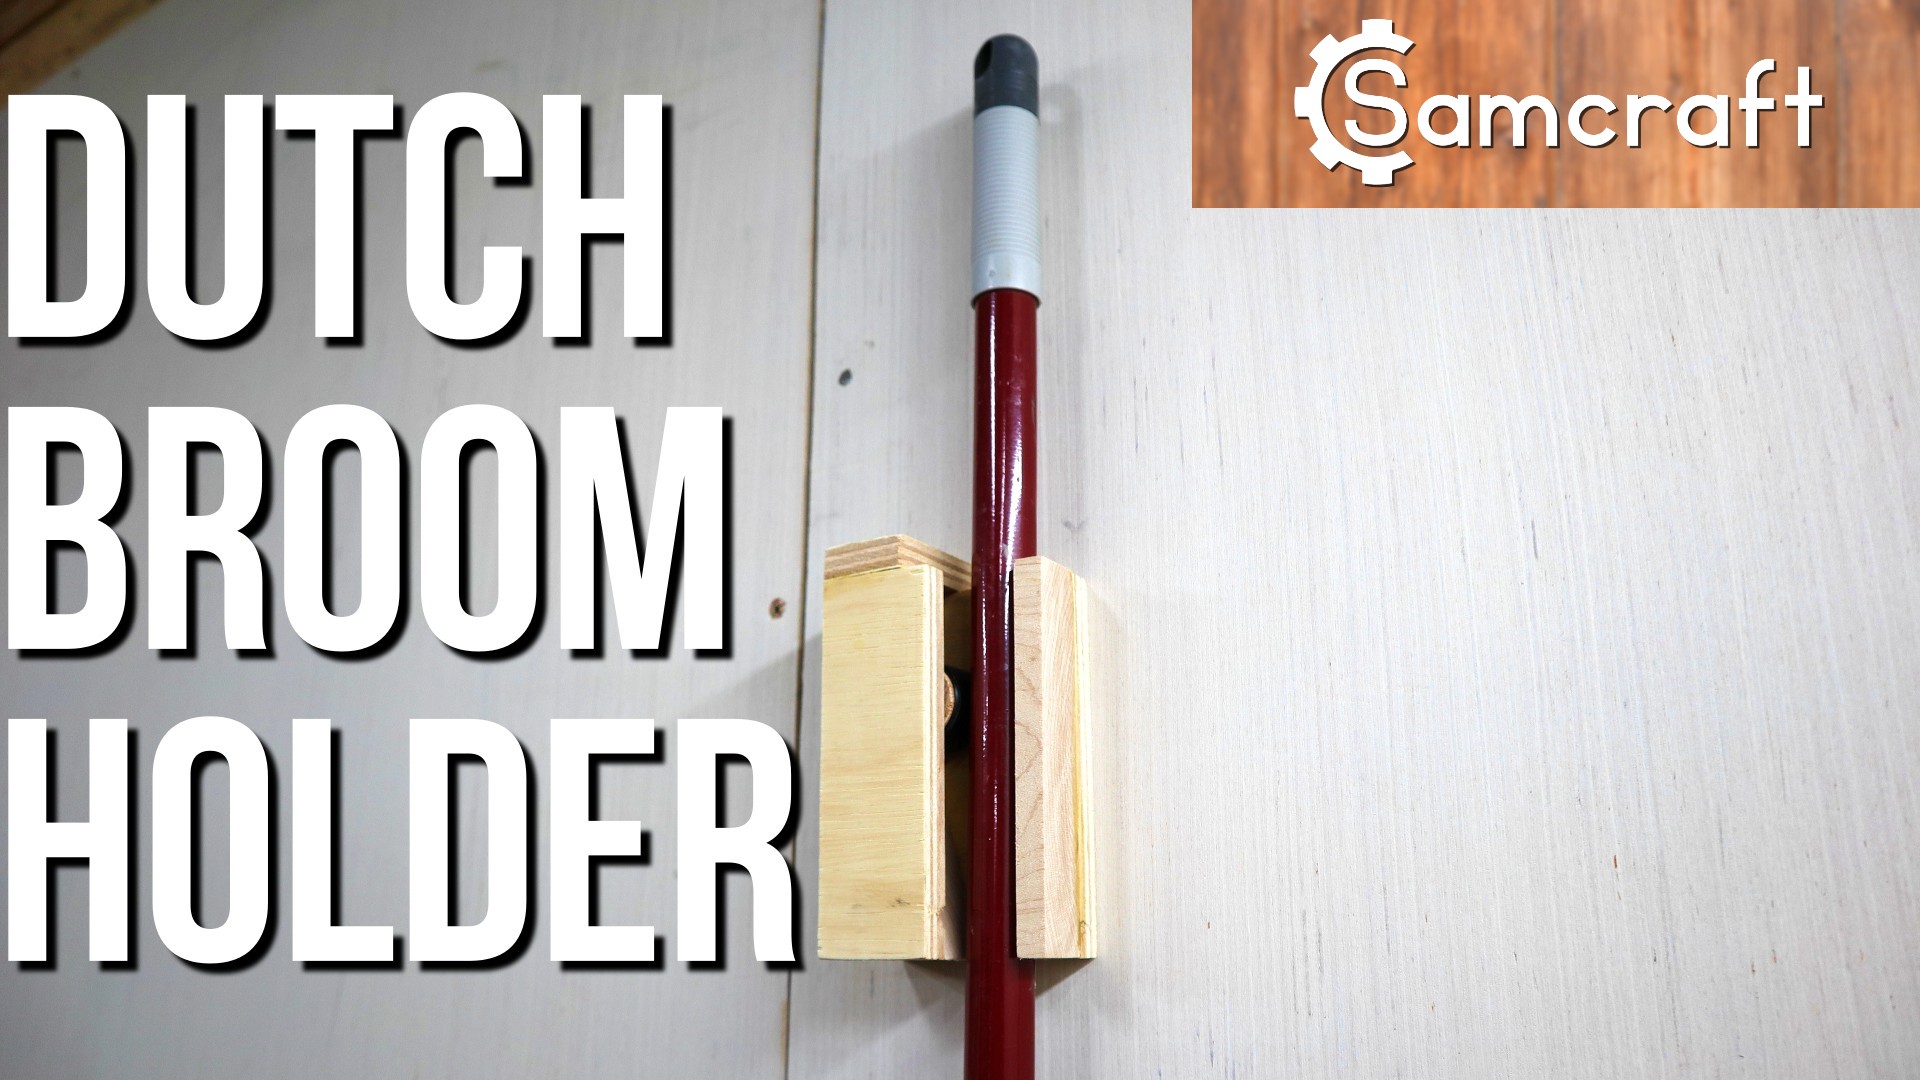
Dutch Broom Holder
Made from simple materials, this Dutch inspired broom holder is a great addition to any place you need to hang a broom. This project is also easy for kids to build!


I started off by ripping the lumber to width. I am using two lumber thicknesses for this project. 1/2″ plywood for the outsides, and 1″ maple for the inside parts. I chose the 1/2″ plywood to keep the broom holder from being too thick.
Using a stop block clamped to my crosscut sled, I then cut the boards to width. A crosscut sled is an essential table saw jig both for safety and versatility and can be made very easily.
Using a stop block at the miter saw, I cut the maple piece to form a wedge. I’m also using a large file to hold the piece near the blade so I can keep my hands at a safe distance.


Using a mixture of regular wood glue and super glue I began assembling the holder. Using super glue lets me keep working on assembly without having to use fasteners or wait for the glue to set up.
Using the rest of the maple, I ripped a thin strip. Then glued it in place.
Taking a section of 1/2″ plywood, I cut the outer face of the broom holder, cleaned up the edges with sandpaper, then glued it in place.
Purchase Build Plans Here
I also made a limited production run of these Dutch Broom Holders and have them for sale on my website if you would like to buy one and support me at the same time, click here to go to my online store.
I carefully cut an oak dowel down to size, then wrapped electrical tape around it several times. The electrical tape helps the disc grip onto brooms and not slip.
To keep the disc from coming out the top when you remove the broom, I glued a small block of 1/2 plywood to the top.
Predrilling and countersinking holes was the last step before hanging this on the wall.
This broom holder was designed to hold a modern style broom about 1″ in diameter. This holder can also easily be stained or painted to suit your style or needs. I plan to sand mine down and give it a nice coat of spray lacquer to match my shop decor.
Thanks for joining, see you next time… in the workshop!